I figure it was some great sin in a past life – nothing newsworthy or famous, just some callous Lothario that fleeced spinsters of their birthright, some real estate wunderkind that unloaded worthless railroad right-of-way by foreclosing on widows and orphans.
Others have a knack for useful things like plumbing or electrical wiring, own a house full of beaming children and spend most of their time basking in the adoring gaze of their spouse.
Me, I wallow in toxins.
I smile as girlfriend backs out of the garage, giving “thumbs up” while waving the list of “honey-do’s” – and as soon as she’s upwind I’m adding a dab of this to a dollop of that, all of which have skulls and crossbones on the label.
… all of which say, “empty into your sink when finished.”
The sport may be “green” but its components are pure death.
With strong winds in the area and “Momma” elsewhere, it was time to explore polyester and the disperse dyes needed to give it lasting color. Synthetics can be made from thousands of polymers, many of the items we use can be derivatives of nylon, polyester, rayon, or even a component of a natural material like viscose, comprised of plant or wood fiber.
All we see is “shiny” or “sparkly” and rarely delve further than shelling out the money for a nickel bag.
The nice folks that make the raw Soft Crimp Angelina material had sent me the Holy Grail of their “doll hair” fiber, a material data sheet that outlined the temperatures the fiber melts at, the temp the fiber loses its iridescence, and similar data that would allow me to dye their product without torching too many Ben Franklin’s …
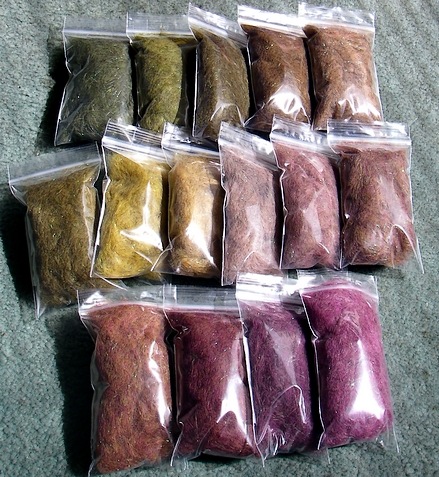
Many of you have asked about the material, which is unavailable anywhere except in tiny little packets labeled, “Ice Dub.” I use it in raw form in countless flies and dubbing blends, but have shied away from coloring it because polyester requires caustic chemicals and plenty of heat.
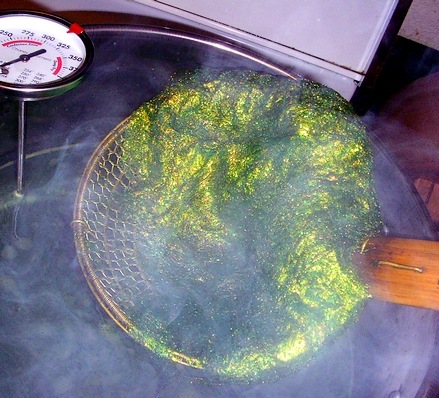 … not to mention the fumes, which is the Shit are pervasive and great odiferous. A well ventilated environment is needed so you can get the entire neighborhood lit and as kitchen cabinets, countertops, and flooring may be unknown material (may contain polyester) you can’t afford to drip the stuff on anything other than porcelain or stainless steel.
Skin is no problem. You could dip your head in it and brush your teeth, and after a couple whiffs you’ll want to …
Pro Chemical & Dye has dyes for every type of fiber you’ll encounter. With only 12 colors available for polyester you’ll need to learn the artist’s color wheel and how to construct complex colors from their components.
Example: Olive, a complex color made of equal parts yellow and green, with 1/2 a part of dark grey or black. Add yellow to make it a “warm” olive, and more green to make it a “cold” olive, and add more black to make it a dark olive (either warm or cold). For the below colors I used equal parts Kelly green and Buttercup yellow, and a half part of Cool Black (Pro Chemical & Dye colors). Using Buttercup versus the Bright Yellow means I’ll err on the side of a warm Olive.
As I’ve had experience in dyeing colors and building shades and tints using their components, my goal was to build a color that resembles a Peacock herl or eye. The iridescence was the easy part – it was built right into the Aurora Soft Crimp Angelina, which has motes of bronze, green, and gold.
Peacock is a double complex color as it would be described as green, olive, dark green, bright green, or bronze, depending on the location of the herl and the genetics of the bird itself.
You can’t dye material “peacock” – instead you dye three or four colors around it and blend them to make the final coloration. This is much easier than it sounds as dye baths will alter shades and color depending on the amount of time the material is left soaking.
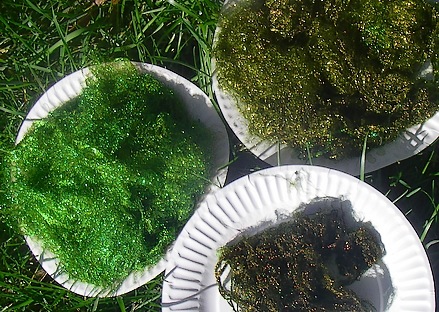
Here is the damp material after 3 minutes (left), 6 minutes (top), and 9 minutes (bottom). One dye bath to color all three shades, only immersion time differs.
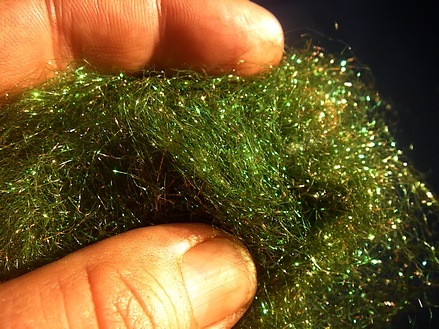
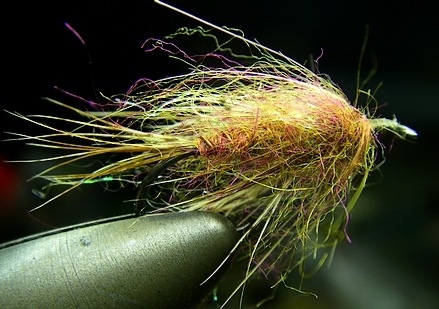
Here’s the final blended color seen under morning light. You can pick out the lighter tints and darkened fibers in the aggregate mass – and I still have the three other shades should I want to alter it further. I used the same formula when blending the result; one part green, one part darker olive, half a part of the darkest shade.
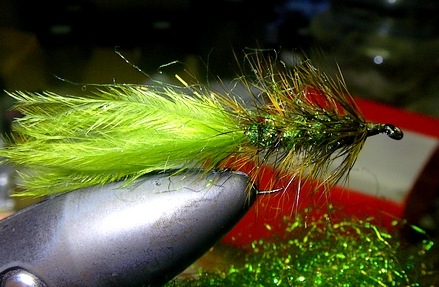
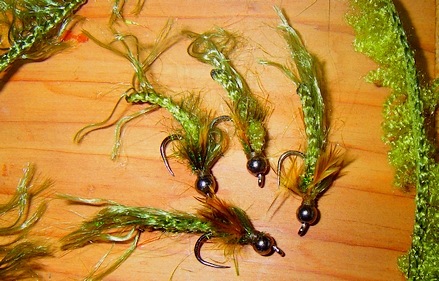
The above shows the mixture used on a traditional leech pattern, note how the florescent light makes the material much more green than the prior photo shot outdoors. Florescent is a “white” light – not blue tinted as is normal sunlight, it always lightens colors by one or more shades.
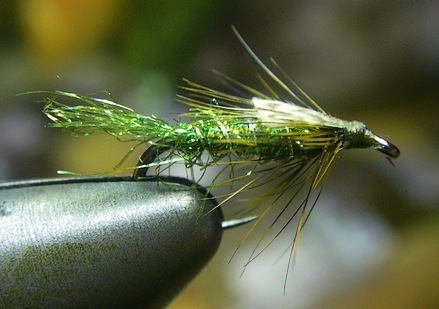
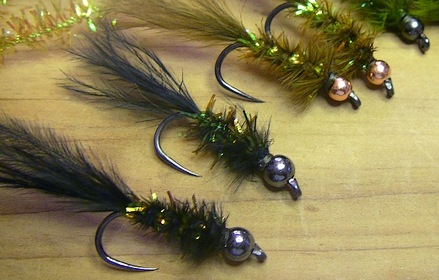
I always hated tying Zug Bugs as the peacock has difficulty hiding the bulge of lead wire underneath – plus its fragility. Above is a #14 Zug Bug tied with the blended color, note how the slip of mallard lies flat on the back (as it should). The finer filament coupled with the ability to build the proper taper with dubbing gives much more control over the fly than wound herl, and the durability is increased at the same time.
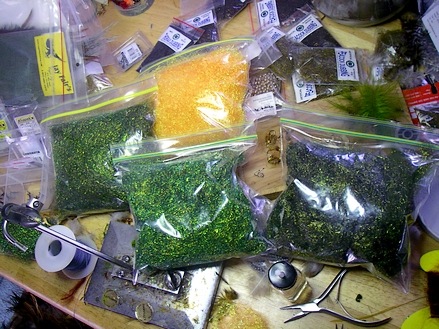
I still need a great deal more practice with these new dyes but once I’ve built the formula for colors and immersion times, I’ll be able to reproduce these with reasonable surety. Returning the material to its dry and fluffy state is also quite problematic as I’m still un-matting the fibers by hand.
Knowing my “stay of execution” is limited – I’m hustling the dye pot outside as soon as each color is achieved, there to cool down while fumes exit the house. The ceramic disk attached to the storm drain stares at me accusingly – a large fish with the entreaty, “this empties directly into the river.”
I considered the crime briefly, but opted for the squirrel burrow in the backyard. While the label says it’s safe I’d rather be entertained by a florescent Orange squirrel staggering out of his burrow on unsteady legs.
The kids next door trundle up to investigate and I’m unaware until the little blond angel wrinkles her nose and says, “oOo, what’s that smell?”
They’re peering into the algae colored water with the shiny bits of debris – and I’m croaking out my best sinister through the rebreather, “ .. in the cauldron boil and bake, eye of newt and toe of frog, wool of bat and tongue of your dog …”
… they screamed appreciatively all the way back to the house. Ma came out to make sure all was well – and fixed me with the obligatory “you are so bad” look as soon as chubby fingers pointed in my direction.
It means visitors next Saturday night requiring a double fistful of Snickers to pay for my sins.
Tags: Peacock, Ice Dub, Soft Crimp Angelina, Pro Chemical & Dye, polyester, disperse dyes, Halloween, little blond angel, toxic chemicals, Leech, Zug Bug, fly tying materials, fly tying
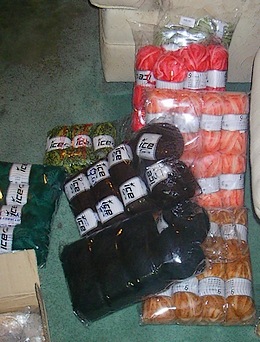 Most of the latest batches have found their way to the reject pile. Lured by color and texture and undone by a hidden weave or indestructible fiber that prevents reduction into fur.


 … not to mention the fumes, which


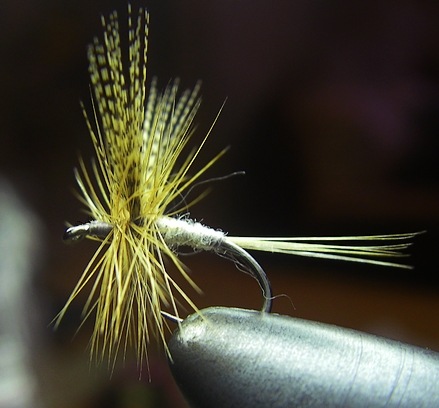
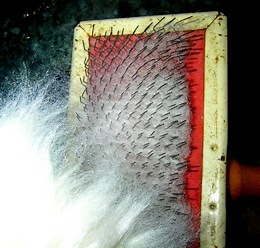 The first sign of progress was the judicious use of “Old Tailwagger.” It’s right after blenders in the fly tying book of mass destruction. Blenders excel on yarn, but fabric requires torture to become fibrous, and the Tailwagger is the tool of choice for stressing tightly woven filaments.
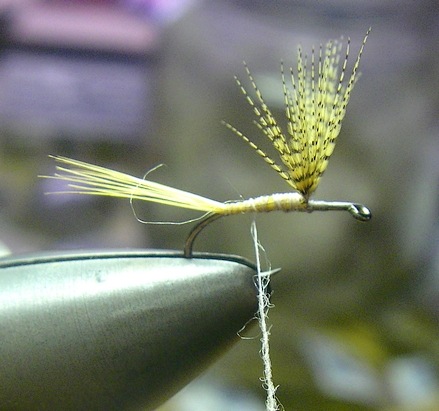
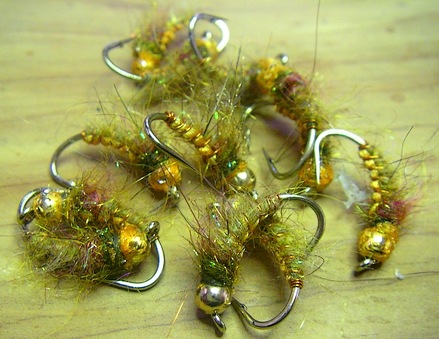
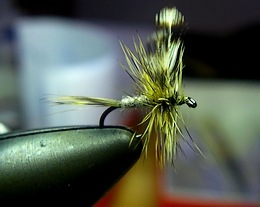 Fly tiers that dye their own feathers are often tempted to toss all the other colors and just dye Grizzly necks Brown, Medium Dun or Ginger. Impressionists like myself love the mixture of colors on the feather – with the light bands somewhat indistinct, and the dark bars offering rigid color that define the fly.
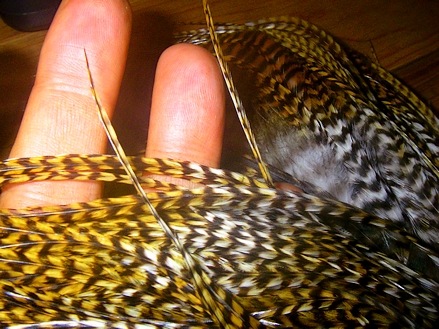
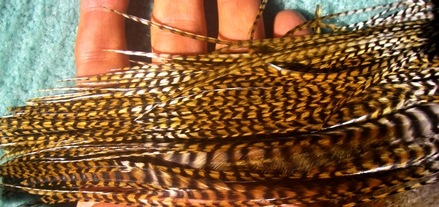
 Fishing was frustrating and fun – but meeting my first female brownliner was a first. I was already in deep yogurt with the Missus, so I didn’t compound the sin by chatting longer than pleasantries.
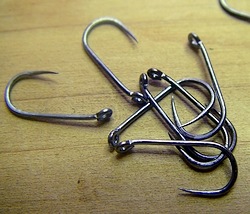 The points are fiendish, much longer and sharper than what I’m used to – and beaked, turned up to hold onto the flesh its just violated.
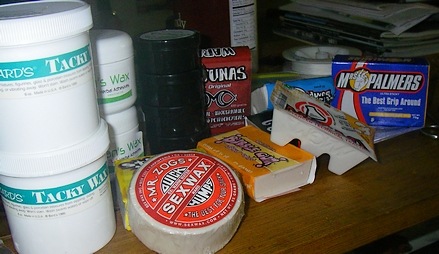
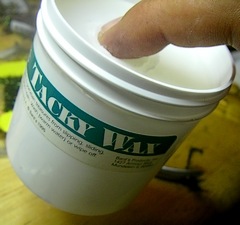
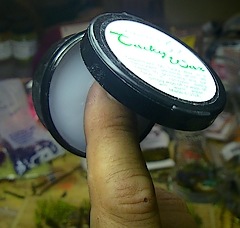 Designed to attach precious artifacts to glass display cases without staining or adding residue. Also called “Miniature Wax” – used by those hobbyists that delight in recreating the battle of Waterloo with lead soldiers, spending months building battle scenes complete with miniature foliage and regiments of soldiers, all of which is secured to the base substrate with small balls of semi-transparent white wax.