My gal was out of the house this weekend so I made melancholy until her car left the driveway. Seizing the opportunity of her absence is important, if she knew what I was up to she’d swivel her head 360 degrees and chase my ass with a butcher knife.
 The trick is in hiding your tracks and getting most of the chores done – all without leaving a hint that you’re in her kitchen splattering noxious dye in every direction.
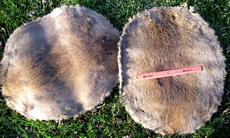
I had snuck a couple of Beaver “Frisbees” into the garage, intercepting the package before Madam got wise, fortunately Coffin Creek Furs ships in a plain brown wrapper, and at $15.00 for 4 square feet of hide, it’s a deal that can’t be beaten.
I destroy plenty so the extra fur is useful. Chalk it up to artistic license, sometimes the color is unsuitable, the dye bath too weak, or the phone rang and you boiled it past the color you wanted, it’s all part of the fun.
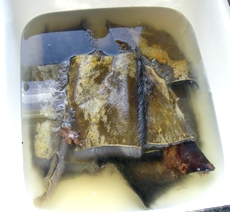 “Fun” if there’s no evidence in the sink when done, one small hint of mischief and I’ll endure the water torture and glaring incandescent bulb, it’s worse then living with Columbo..
Cloth dyes like RIT work fine on fur but the color will not be vibrant. Salt fixed dyes yield a more somber pastel color, fine for earth tones but unsuitable for bright colors.
If you need vibrant colors like red and orange, you have to use “acid” dyes, also called “aniline” or “coal tar” dyes. These were available under the Veniard label in the UK fly shops. Don’t be scared by the “acid” term, regular white vinegar (5% Acetic acid) or Muriatic (10% Hydrochloric acid) is used to fix the colors. Muriatic acid is what you cleanse a swimming pool with – you may even have some in the garage.
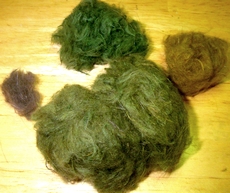 Today it was “olives” I was interested in – not simply olive, but a range of olive colors from dark to light. Olive is a mixture of yellow, green, and black, and the proportion of each determines the final color.
I always use a mixture of colors to make the final dubbing rather than using a single dye color, yielding fur that looks like the desired color, but has fibers from all the component colors to add variation. It’s doubly useful because you’ll get dubbing for all the component colors and the final color, yielding an assortment of 5 or 6 colors per batch.
The final assembly is done with a coffee grinder. I trim the fur off the hides after they’ve dried and mix them using a blender. I’ll use Angelina fibers to add some sparkle to the blend, both similar colors for the true olives, and try some wild combinations to see the effect on the finished fly.
Because of the “tinkering” I do with color, I always dye much more than I need, this gives me plenty to play with and gives leftover pieces to tuck into the drawer should I need to restock the colors later.
I try to make about 1/2 to 1 oz of dubbing per color. This will be a dense ball of dubbing slightly larger than your fist. I’ll start by trimming 50% off the green hide, 50% off the yellow hide, and 10% off the charcoal beaver. No need to be delicate, carve it off with scissors or a razor blade, guard hairs and all. I run each through the blender to fluff them up, then start mixing the final color.
A standard coffee grinder cannot handle long filaments as they’ll wrap around the center shaft and burn up the motor. Keep all of the materials used to about 1.5 inches in fiber length, trim the components as needed to prevent binding. These small grinders cannot accommodate an ounce of fur at a time, so do small batches 1/3 to 1/4 ounce at a time.
This is a coffee grinder purchased specifically for making dubbing, if you use the “production” grinder in the kitchen you’re a dead man.
Once the color is blended I add guard hairs from a Hare’s Mask, to add spike and contrasting color to the nymph blend. If you’re making dry fly dubbing, no guard hairs are needed.
Last step is to add some Angelina fibers for flash. I’ll divide the finished color in half and add the trimmed Angelina (cut to 1.5 inch) to only half of the product. This gives me two flavors, “flash enhanced” and regular.

If you are making multiple shades of the same color, just change the proportions, a lighter olive will have less green and charcoal, a darker olive will boost the charcoal, warmer olive – increase the yellow, colder – increase the green, etc. Use the artist’s color wheel to determine the components for each color.
I hid the dye pot in the garage again, and acted completely angelic when the “cops” showed. If you try the “I missed you, Sweetums” gambit she’ll know somethings amiss, always leave one chore on the list incomplete that way she assumes you lounged around watching football. It throws her “crime scene” radar into complete disarray.
Technorati Tags: Angelina fibers, RIT dye, messy kitchen, beaver, fly tying, dubbing
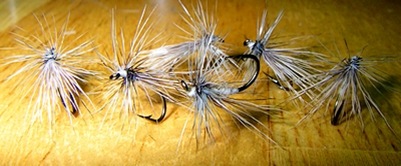

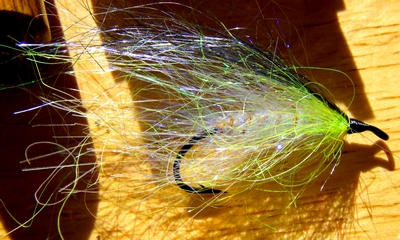
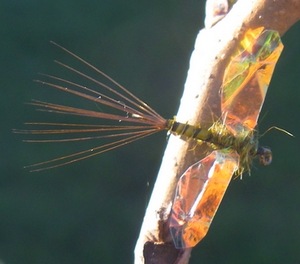 It’s the result of more sparkly oddities than I know what to do with – with the picture at left showing one possible use for
 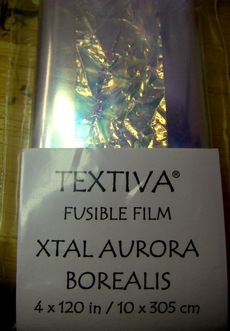 It arrives sheer and smooth, the trick is to crumple it up to add the appearance of wing veins. It’s delivered in sheets of 4″ wide – 10 feet long, and costs about $3.50 per bundle.
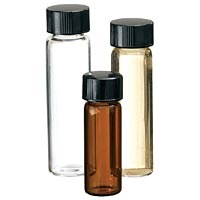 For the budding entomologist, if you are looking for the traditional glass specimen bottles for saving bugs –
 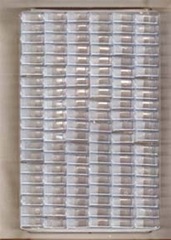 A storage “system” would be nice, but it seems like they’re the most elusive of all. I haunt bead sites looking for some hint of genius … you’ll find plenty of things that will have you scratching your chin,
 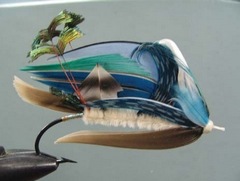 “Think Outside the Box” – we understand the concept easy enough, but only a select view are able to to put the theory to practice. The best example I’ve seen to date is from Michael LeBlanc, who won the Gold Medal in the
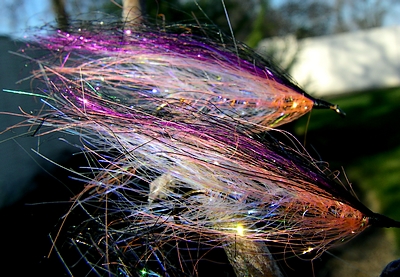
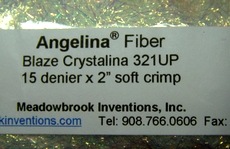 Following up on a comment from Phil Huewe on the “Cheaper Ice Dub” post I did about a week ago. I knew I had the right fiber, it was the right “flavor” of fiber that was my consternation.
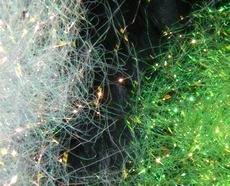 Angelina is available in 2″, 4″, 6″, and 8″ lengths, not only the texture can be different but the length will throw you off as well. Anything longer than the 2″ will look “orderly” compared to Ice Dub, as they’ve trimmed the Angelina to 1″ and then mixed it all up.
 The trick is in hiding your tracks and getting most of the chores done – all without leaving a hint that you’re in her kitchen splattering noxious dye in every direction.
 “Fun” if there’s no evidence in the sink when done, one small hint of mischief and I’ll endure the water torture and glaring incandescent bulb, it’s worse then living with Columbo..
 Today it was “olives” I was interested in – not simply olive, but a range of olive colors from dark to light. Olive is a mixture of yellow, green, and black, and the proportion of each determines the final color.
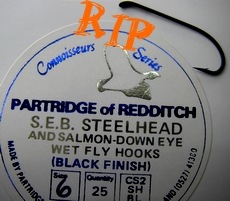 I don’t know why I expected anything different, I wrote enough articles on the decline in “genetic diversity” to know better. It’s part and parcel of the “WalMart” phenomenon, small Mom and Pop business’s forced out of existence by sinister and cavernous chain stores.
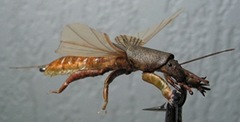 I’m always in awe over any form of craftsmanship, it doesn’t matter whether it’s Shaker furniture or a finely tooled gun butt, it’s the skill of the craftsman that allows a novice to appreciate the difference.